On forums and thematic groups related to digital photography and retouching, very often there is a question about color differences in Adobe Lightroom Classic (I do not know how to new version of Lightroom without “Classic”, but if the problem appears there, it is probably for the same reasons). I will try to describe what is going on in the simplest way, because it is not a mistake.
Difference between Library and Develop
Let’s start with what, how do these two modules differ, because some people make it difficult for themselves to work, already at this stage.
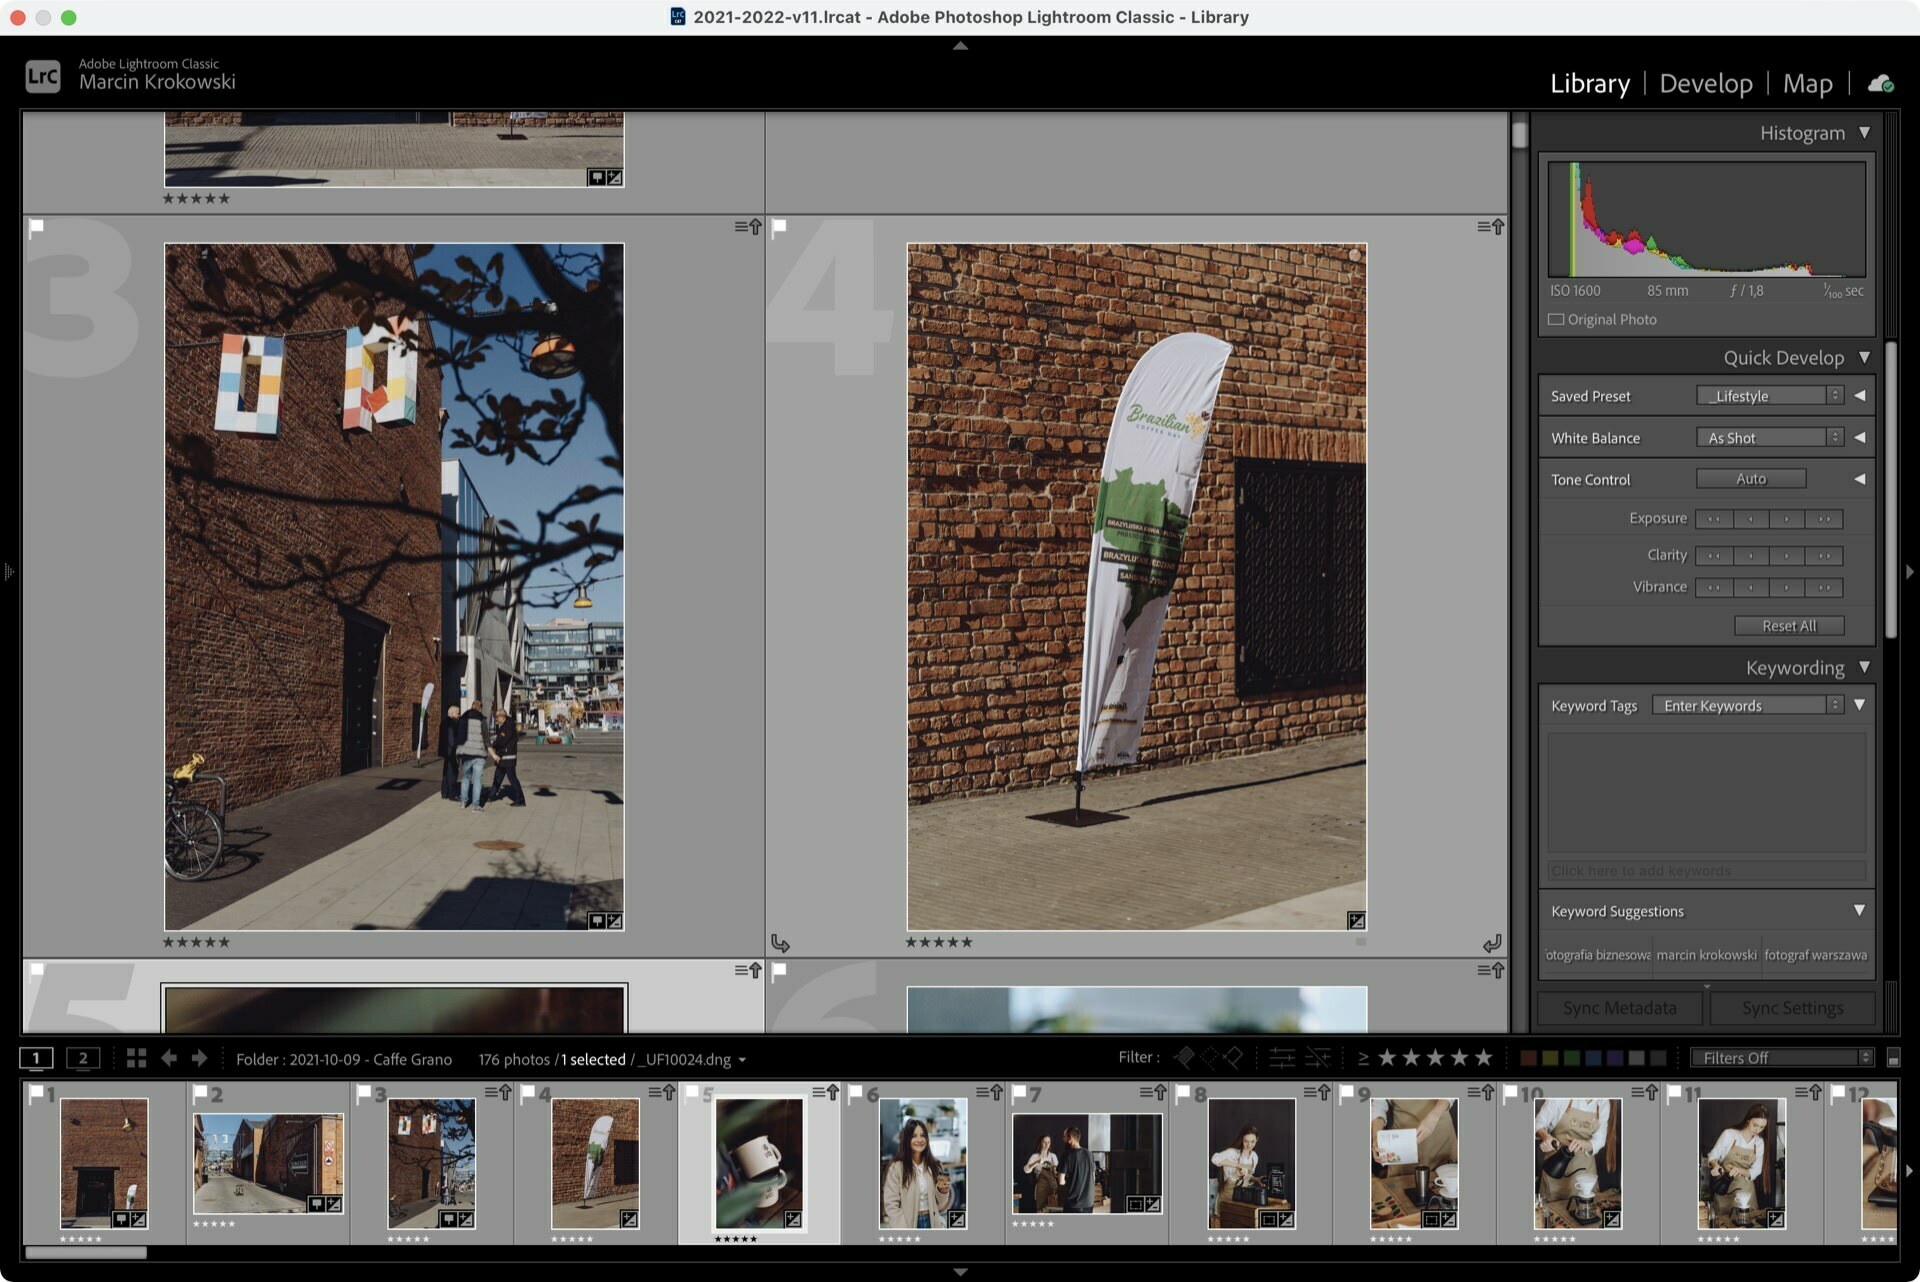
The Library module, as the name suggests, is our photo library in which we view files. Here it is best to start the selection, because it will be much faster. It is worth checking, because making selections in the Library and Develop module differs in the speed of operation significantly or drastically. Depending on the equipment on which we work and seed changes – especially lens correction, sharpening and denoising.
If you have a look at my guide to accelerating work in Adobe Lightroom Classic, you can set your Lightroom so that in the Library module photos will fly like a movie at an accelerated pace, and series of photos will turn into smooth GIFs. Feel free to this entry.
Library Module
Our library works based on previews, which are JPEG files placed either in RAW files or generated by the Import stage – which affects their quality and size of our catalog. Due to the fact that we see JPEG files, we rely on 8-bit files that Lightroom displays in Adobe RGB space (1998), which makes us lose some of the color information, but it is still better than in JPEG files subjected to greater compression and most often saved in sRGB.
Artifacts on underlays in the Library module
Artifacts that are no longer visible in the Develop module may also sometimes appear in the Library module. This happens when you create these previews in a JPEG that is compressed. They are also not visible in exported photos. There is nothing to be afraid of and you can try to create previews again.
This can be done by being in Library and selecting from the Library > Previews > menu Build Standard-Sized Previews or Build 1:1 Previews. 1:1 gives better resolution, but takes up more space.
I use 1:1 in selection and machining to quickly check the focus, but I remove after finishing work on the material. Often, however, a standard size for selection is also enough for me, because it generates faster.
Library Module
We should land in the Library at the earliest after the initial selection, if we want to stay there for longer. Here, Lightroom renders a live preview of the RAW file and displays it in 16-bit ProPhoto RGB space with an sRGB gamma curve which gives us much more shades. The more bright and intense the shades, the greater the difference.
The difference is more noticeable in the case of wide-gamut monitors because they allow us to show more here.
Summary
The Library module displays ready-made previews based on 8-bit JPEG files in the Adobe RGB space, and the Develop module renders a live preview of RAW files that are displayed in 16-bit in the ProPhoto RGB space.
If you work on lifting and take screenshots, or save ready-made files to JPEG, you must also take into account that Windows does not cope with color management and to preview photos it is good to use a browser that supports color profiles in image files, e.g. Adobe Bridge, or ACD See.


