At the moment, to add your own tab, the fanpage must have a minimum of 2000 likes. Until then, you cannot add your own bookmarks with external content. Until then, you may receive the message “This page does not have permission to install the custom tab.”
Update from October 16, 2018Spis treści pokaż
Virtual walk on the fanpage
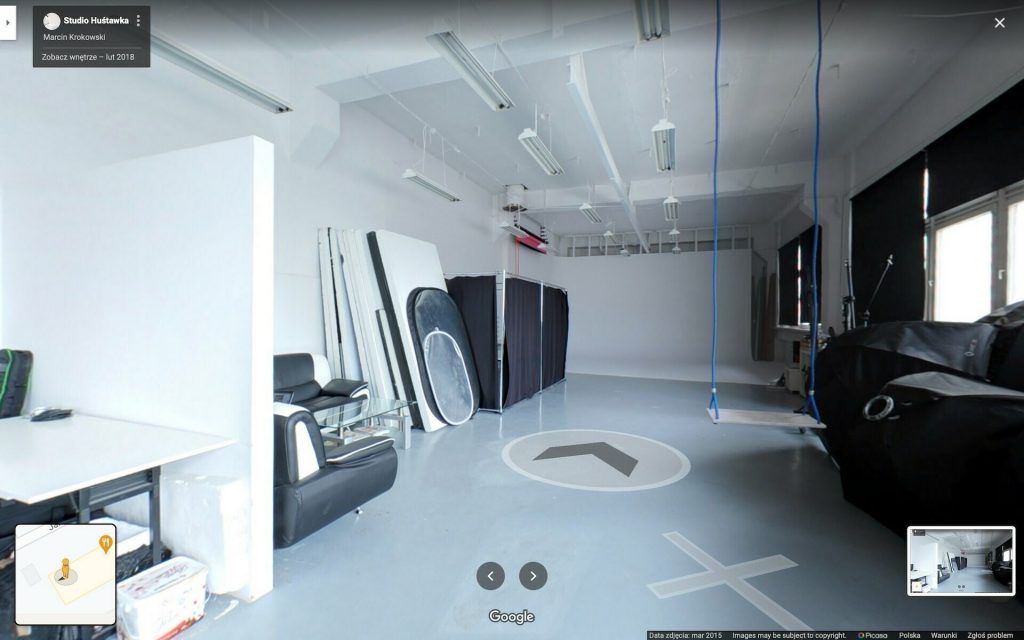
If you want to put a virtual walk Street View created in Google Maps on Facebook in your fanpage, you need to create a special tab. In this tutorial, I will write how to do it using the Look Inside application. This is one of the easiest ways and it shouldn’t take you more than 5-10 minutes.
Requirements
The most important thing is to have a Facebook page with min 2000 likes because we are talking about it in this guide, and Street View virtual walk on Google Maps which we want to show.
We must be logged in to the Facebook account that we manage the site as Admin. No login is required for Street View / Google Maps.
1. Go to Look Inside
We go to the site Look Inside and click Click here to add the app to your Facebook page .

2. Select a fanpage
The next step is to select the page on which the virtual walk tab is to be placed. Then click Add Page Tab.

3. Welcome page
The first thing we’ll see is a welcome page with installation instructions. We can leave it open for now and go to step 4.
4. Find your business on Google Maps
Now go to the Google Maps page by clicking on this link . In the upper left corner, enter the name of your company which includes a virtual walk and find its business card. If you can already see the business card on the left, find Photos including “Street View and Spherical Photos”

5. Select a view
Now you need to know about that what you see at this point will be the initial view of what you put on your fan page . So while moving in a virtual walk, choose what you want to show. It can be the front of the premises from the street, a reception, an interesting room. You can also show a close-up of an element – you choose. When you find the best interior perspective of your premises. Click on the three dots in the upper left corner of this view next to the company name and the creator of the virtual walk Share or embed an image .


6. Copy the link
Then copy the link that you will see in the window that appears. You can also copy the link directly from the browser window.
By the way, I wanted to show you where the Place a photo option is, which generates a special code to put the walk on your website. You can learn more about it in the post on adding a virtual walk to a company website.
7. Paste the link
Now you are back on Facebook and the welcome page from point 4 of this tutorial. In the text box under Paste it here: you paste the link copied from Google Maps and click And that’s it! here to save .
8. You have added a virtual walk
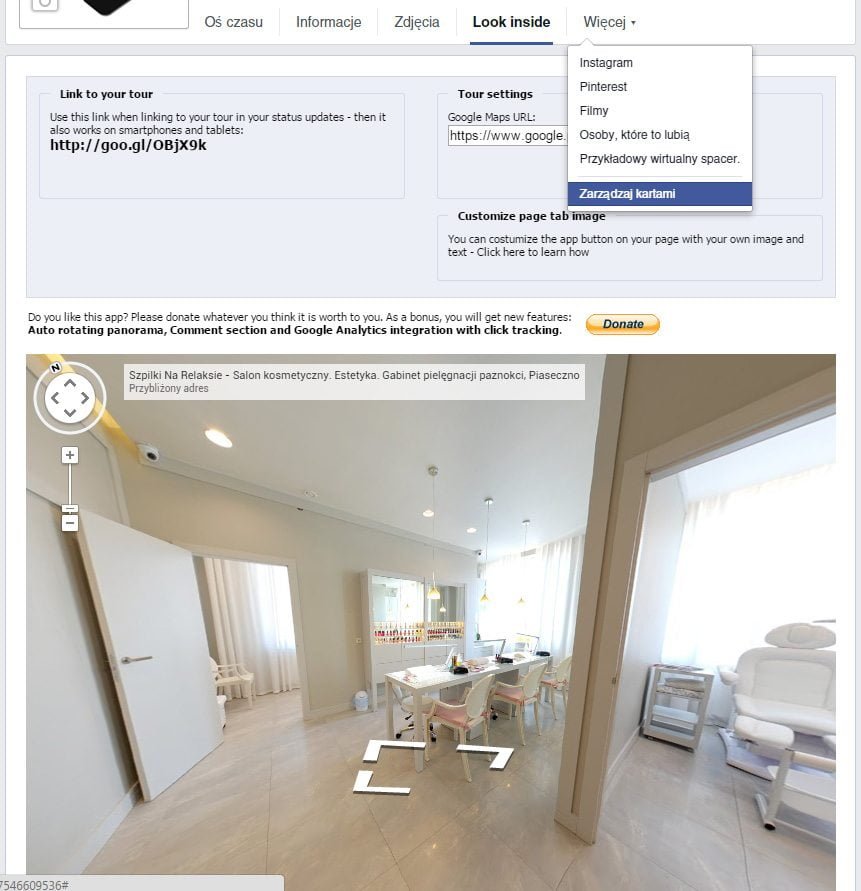
Virtual tour has already been added. The options you see above the virtual walk (link to your trip, place to change the link from google maps – see point 5) and the option to buy additional options is visible only to you. Visitors to the site only see the walking window.

At this point, I recommend that you change the name of the bookmark, its order on the list of bookmarks and the distinguishing image. click on More then select the last option Manage your cards .
9. Select the order of bookmarks
In this window you can change the order of the tabs. If you run a restaurant, for example, it would be worth highlighting a virtual walk, because some options will be hidden under the drop-down list and few people will reach it. To change it – grab and hold the cursor Look inside and move it to a higher position. Once done – click Add or remove cards – we will change the name of the tab, its picture.
10. Change the name and picture.
In the list of applications, find Look inside and click on Edit the settings . In the window that you will see, you can change the name of the tab if you want it to be in Polish. I would suggest names like “See the interior” or “Virtual walk”. If you want to change the picture (a pink man with the inscription Look inside) into your own graphic, click on the option Custom card image: Change.
11. Done
Bravo! Now you can enjoy a virtual walk on your fanpage. If you have more than one page, the whole process can be repeated in the same way. If you have any additional questions, feel free to leave them in the comments below.


