If you have already created a virtual tour in Google Maps and are wondering how to add a virtual tour to a WordPress website, then this guide is for you. The whole should take us no more than 5 minutes. The whole process looks very similar to adding Google Maps to a Website and in part like adding a virtual walk on Facebook. Most of the virtual tours on this site have been posted in a similar way – you will find them in my portfolio.
How to add a virtual tour on a WordPress website?
You have to start with the fact that we must first of all have a company in Google Maps, and then a virtual walk in Google Maps that we want to add on the site. If you don’t have one yet, take a look at my offer of Google Street View virtual tours.
1. Open Google Maps
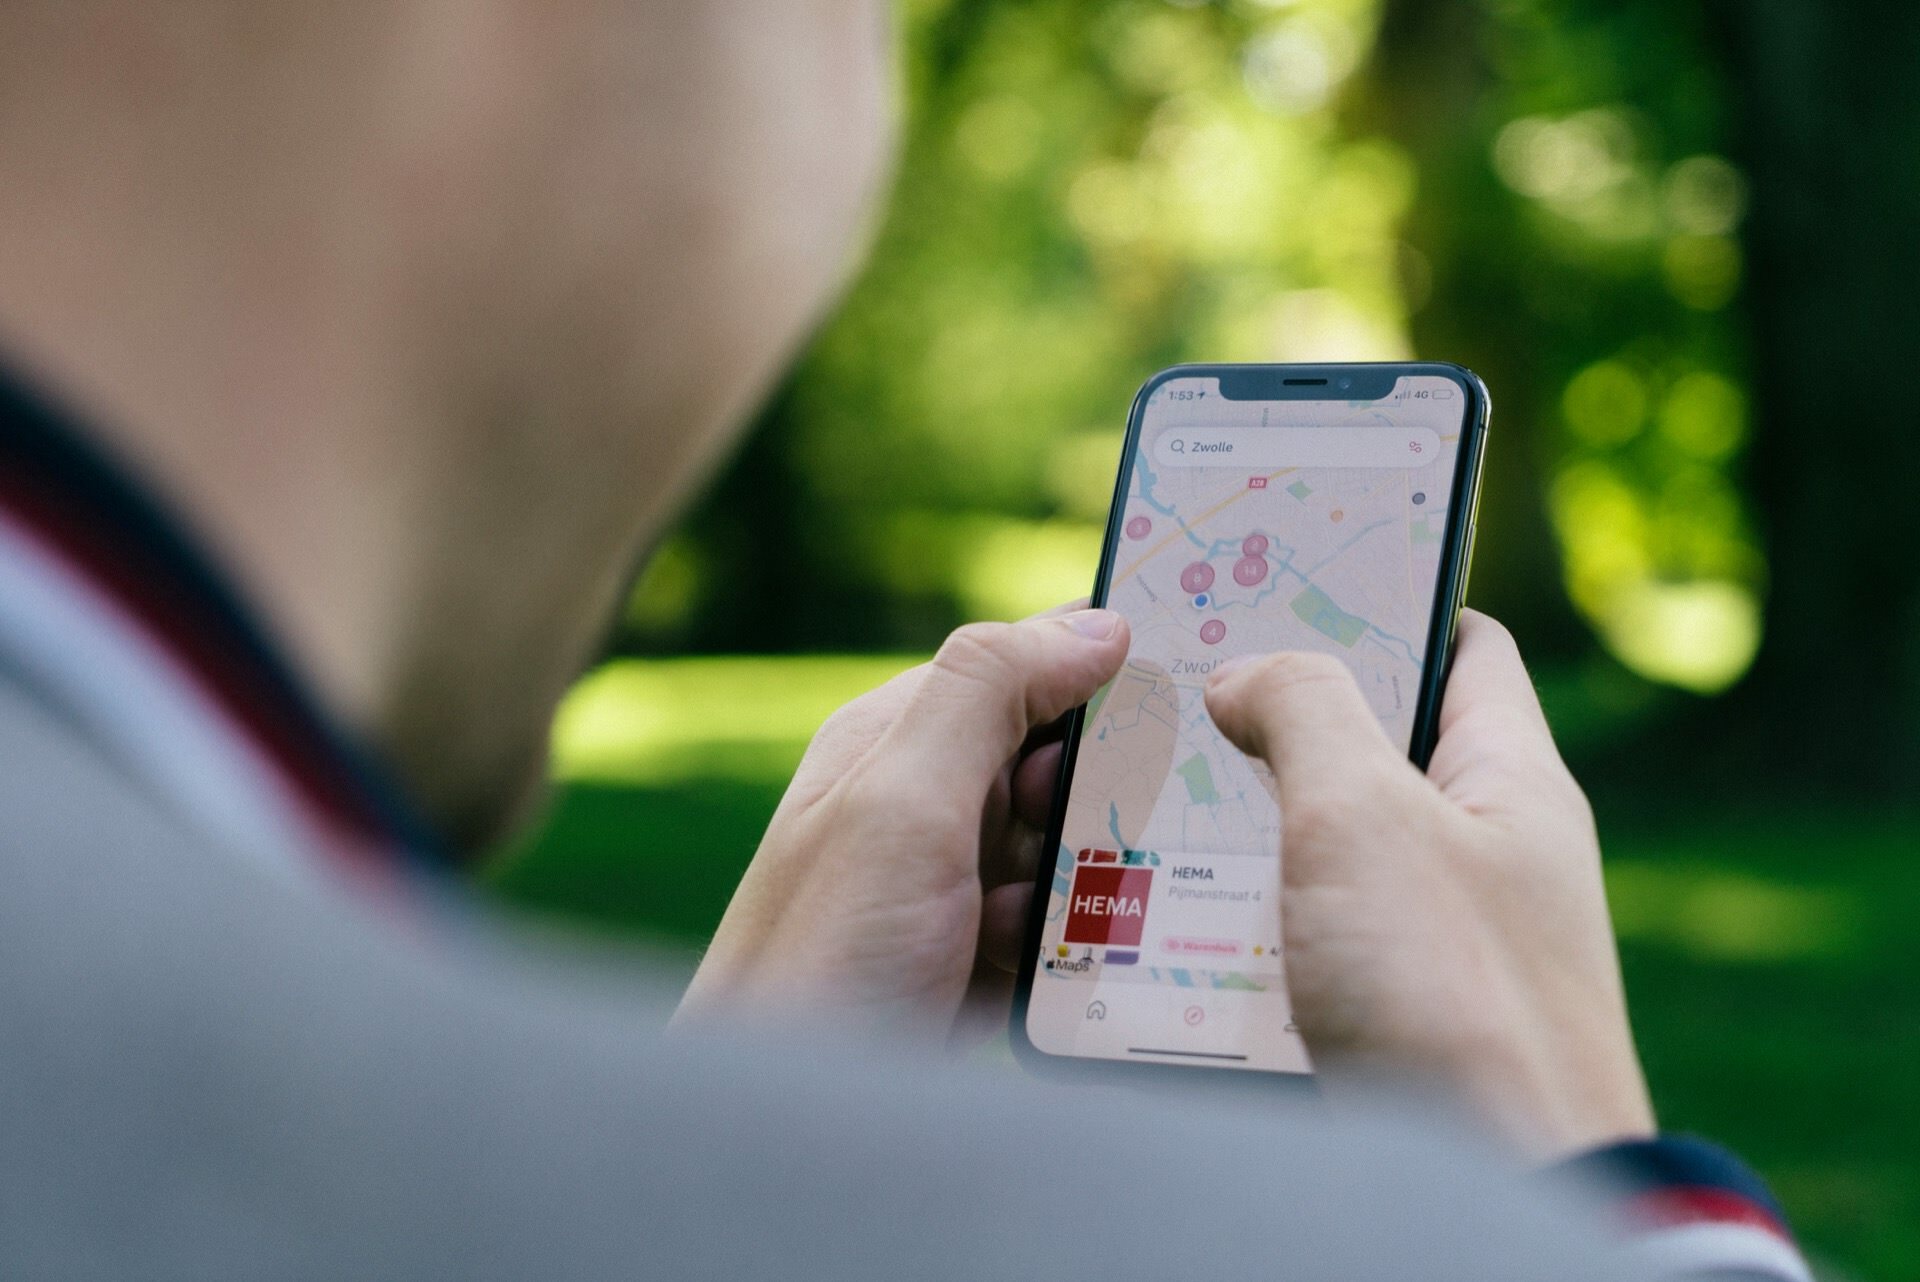
We enter Google Maps in a computer browser on a computer.
2. Find your business on Google Maps
In the upper left corner in the search box, enter the address of our company and click Enter or magnifying glass.

If we have our company in Google Maps and a virtual walk, we must first add the company to the maps, and then order a virtual Google tour.
3. Open a virtual tour in Google Maps
- Option 1: Google Virtual Tour can be found in the Photos tab and there we will find the rectangle “Street View and spherical photos.”
- Option 2: We can also find a small orange man in the lower right corner that we can grab and lower on the map in place of blue dots.

4. Select the start view
It is important to select the appropriate view before creating the HTML code in step 5. If we want it to start from the entrance to the premises, we go to this place. If we want to start with an interesting place inside our walk, we open it in this place and set the frame in exactly the way we want to show visitors to our website with a virtual walk. This view will be saved in the HTML code.

5. Create and copy HTML code
- If we have already chosen the right “frame”, then in the upper left corner on the gray square with the name of our company and the creator of the virtual walk, click on three gray dots and select Share or place a photo.
- In the “Share” window we select “Placing the map in which we will see a window with a virtual walk.

6. Copy the HTML code
In the map placement window, we can choose its size on the website. By default, the average average size is 600 pixels wide and 450 pixels high. The following parameters are responsible for this:
“width=”600″ height=”450”
I will recommend another method.
We copy the link as it is, and then enter our own parameters depending on the width of our page and the place where we place the virtual tour.
I prefer to set the parameter width=”100%”. When creating a code in Google Maps, we will not do this, but by pasting the code on the website, we can apply the width in percent, thanks to which the virtual walk will automatically adjust its width. The height it most often uses is about 400-500 pixels, due to mobile devices.
7th Create a new page, or enter the editing of the already created
A virtual tour can be added on a separate subpage, or added, for example, in the contact tab on our website. It doesn’t make much difference, and adding code looks the same. We can add to the post, or to the page.

- Enter our admin panel (WordPress Dashboard) naszadres.pl/wp-admin/
- On the top bar we select New post > or Page
- If we want to add a code to an existing page, go to Posts > All Posts > Select a post and click on it
8. Add custom HTML block
If we are already editing a page / post, we create a new block called “Custom HTML ” and there we paste our copied HTML code from Google Maps.

Remember to enter the appropriate sizes in the width and height parameters.


If it’s a new post, then we set the thumbnail and other data, publish and you’re done! Also remember to add a new page to the menu, or appropriate links to easily find it. Well, that would be enough.
Video tutorial
If you prefer to see how to dod it below I put how to do it all on the example of the post you are reading.


To integrate a virtual walk into a website using Google Maps, what are the initial requirements that need to be fulfilled, such as having a company listed in Google Maps?
To integrate a virtual walk on your website, it’s not required for the business to be listed or verified on Google Maps. However, if you want your business to be visible to the general public on Google Maps (outside of just your website), it’s beneficial to list and verify it through Google My Business.