Instead of film, DSLRs use digital negatives, commonly called RAW files. Depending on the camera manufacturer, they may differ in file extensions, for Canon they will be . CR2, . CRW and for Nikon . NEF and . NRW. However, Adobe came up with the brilliant idea of unifying them all into its own Digital NeGative format – a digital negative. In this article I will present what RAW files are, and why it is worth converting them to DNG format and how to compress to DNG in Adobe Lightr
The DNG format in 2008 was also recognized by the International Organization for Standardization (ISO) as an independent standard for recording images recorded by digital cameras. Currently, it is used in more than 150 camera models. Unfortunately, so far Nikon or Canon have not switched to this record in their cameras, but in this entry I will show how to use it anyway.
What are RAW files?
When we take pictures with a digital camera and some compacts, we have a choice of 2 basic file formats – RAW and JPEG (with different compression ratios). Some manufacturers have also used the DNG format already in the camera. When saving photos to RAW, we get a digital negative that has all the information that went to the sensor at shutter speed, and always the highest resolution of the file, which is not given to us by compressed JPEG*.
RAW files also occur when recording video, but I will not touch on this topic here.
Exporting or saving raws to a JPEG file is called calling a digital negative. This is a non-reversible process and there is no return from the JPEG file to RAW because it has already undergone lossy compression.
List of RAW formats by percentage
| Producer | File extension |
|---|---|
| Canon | .crw .cr2 |
| Casio | .bay .raw |
| Epson | .erf |
| Fuji | .raf |
| Hasselblad | .3fr |
| Kodak | .dcs .dcr .drf .k25 .kdc .tif |
| Leica (disambiguation) | .dng .raw |
| Mamiya | .mef |
| Minolta | .mrw |
| Nikon | .nef .nrw |
| Olympus | .orf |
| Panasonic (disambigu | .raw .rw2 |
| Pentax | .ptx .pef .dng |
| Phase One | .cap .tif .iiq .eip |
| Red | .r3d |
| Ricoh | .dng |
| Samsung | .dng .srw |
| Sigma | .x3f |
| Sony | .arw .srf .sr2 |
Advantages of the digital RAW negative
- No lossy compression (sometimes you can add lossless or lossy compression, but this puts a strain on the camera and prolongs the recording)
- 12-14 bits per pixel. (JPEG files have only 8 of them)
- Has the widest dynamic range
We can recover burnt or underexposed fragments of photographs, to a much greater extent than from compressed jpg files - When machining, we can make a white balance correction if we or the automatic white balance misjudged the mixed lighting
- Ability to edit without affecting the original file
All changes (e.g. exposure, contrast, white balance, cropping, conversion to BW) are made in a separate XMP file. If we make a mistake, we can easily undo it and return to the output file. We can also call one file in several ways.
Disadvantages of the digital RAW negative
In my opinion, they have no flaws, but two issues are often raised:
- Larger file size compared to JPEG files
- They need to be called*
Maybe once memory cards were small and expensive, you could wonder what to choose. Now hardly anyone has this problem because most cameras work on SD cards that are already at reasonable prices. So if we do not take pictures like a machine gun, even one good 64GB card for about PLN 90 should be enough for a whole day. So what’s the lament about?

When shooting in JPEG, the camera usually makes many decisions for us about how the photo should ultimately look like. In fact, the camera software calls the RAW file in a fraction of a second, changing many parameters, i.e. contrast, saturation, sharpness. Usually, we can choose settings from a ready-made list in the camera, or, as in new phones, rely on AI that will select the appropriate (or not) values. As a result, many people think that RAW files give ugly photos.
Sometimes you can meet with the philosophy of people who in my opinion are afraid of graphic programs and say that the camera takes pictures and not Photoshop and a good photo does not require processing. Well, unfortunately, but maybe Photoshop does not do it, but their camera already does and it’s usually on one hoof.
Below is a small simulation of how it looks completely raw and it simulates the camera settings in JPEG mode.


What is Digital NeGative (DNG)?
DNG is a format introduced by Adobe. DNG files are created from RAS, NEFs, CR2, etc. which are created by digital cameras as a digital negative.
Advantages of DNG
It is said that DNG is a file, I would call it folders/archives. Because there are 2 to 4 files there. The first is a lossless compressed RAW file, the second is all processing data (instead of a separate XMP file). The third and fourth files are optional, one of them is a JPEG preview file, which will speed up the viewing of photos, since the program will not have to load data from a large negative. It is also possible to add the original RAW file, but this will increase the file size by almost 2 times.
Standard DNG file is ok. 10% smaller than regular RAW, and for large files, up to 30%. Which, when ripping several hundred or several thousand photos a week, can save us a lot of space and money for new hard drives.
And here is an example comparison table.
| Resolution | RAW | DNG | DNG+ | JPEG+ | JPEG |
|---|---|---|---|---|---|
| 12.7 MP | 12.1 MB | 9.7 MB | 11 MB | 4.5 MB | 2 MB |
| 10 MP | 8.7 MB | 7.6 MB | 8.7 MB | 3.8 MB | 1.8 MB |
| 8 MP | 7 MB | 6.1 MB | 7.1 MB | 3.3 MB | 1.6 MB |
“+” indicates high quality JPEG file or higher preview resolution in DNG file (embedded JPEG)
Versatility of DNG format
DNG files are a free format, independent of hardware manufacturers, making it easier for ISVs to build their plugins.
Compression up to DNG
Conversions to DNG in Lightroom can be carried out in two ways:
- Converting files on import to the LR directory
- Converting files in the LR directory
Compress to DNG without Adobe Lightroom
There is another way without using Lightroom – we can use Adobe DNG Coverter, or a similar program in which we change any RAW files.
New camera vs. old software
The DNG compression function can be useful when you have an older version of LR and Adobe Camera RAW. In Adobe Creative Cloud there is no such problem because you will get more updates to Adobe Camera RAW for new cameras and lenses.
If, for example, you are still working on LR version 5 or earlier and uses the new Sony A7 III body, your LR and ACR will not support RAW files from this body. The only option is to use Adobe DNG Converter to make DNG files that will be compatible with LR 5 or older.
What if Adobe Digital NeGative Coverter doesn’t support my body?
When converting, you can also select the DNG file version that is appropriate for your LR version.
If we have a new camera, and an older version of Windows may happen that Adobe Digital NeGative Converter will not read RAW files from our body because it has also lost support, e.g. to Windows 7. Such a problem was encountered by one of the readers of my blog, who uses Windows 7 and bought a Nikon Z6II. Looking for a solution, we found one way that may not be perfect, but allows you to edit something more than JPEG files in Adobe Lightroom in a boxed version that does not support Z6II.
- We tried with Nikon NX-D to save Rawy to TIFF format, but there was a problem with saving – maybe you succeeded?
- RAW for TIFF can also be done in the free Darktable application for Windows 7. TIFF files can then be imported into LR and edited. We checked and it works!
- You can also try to change the Camera Model in the EXIF data from “Z 6_2” to “Z” but it is quite risky because our RAW will be seen as those from the Z6 of the first generation. It’s good to make a backup!
Importing RAW to DNG format in LR
- Press CTRL +SHIFT+I or enter File > Import Photos. On the left, we see the Source column. In it, we select the media or folder from which we transfer photos.
- Then in the middle we select “Copy as DNG” and below we can select the photos that we want to import.
- On the right, we can set the size of thumbnails, file naming rules, preset, metadata, keywords and the save path.
- If we have already prepared everything, then click Import and wait for the files to be loaded on our disk.
Convert files to DNG in Lightroom
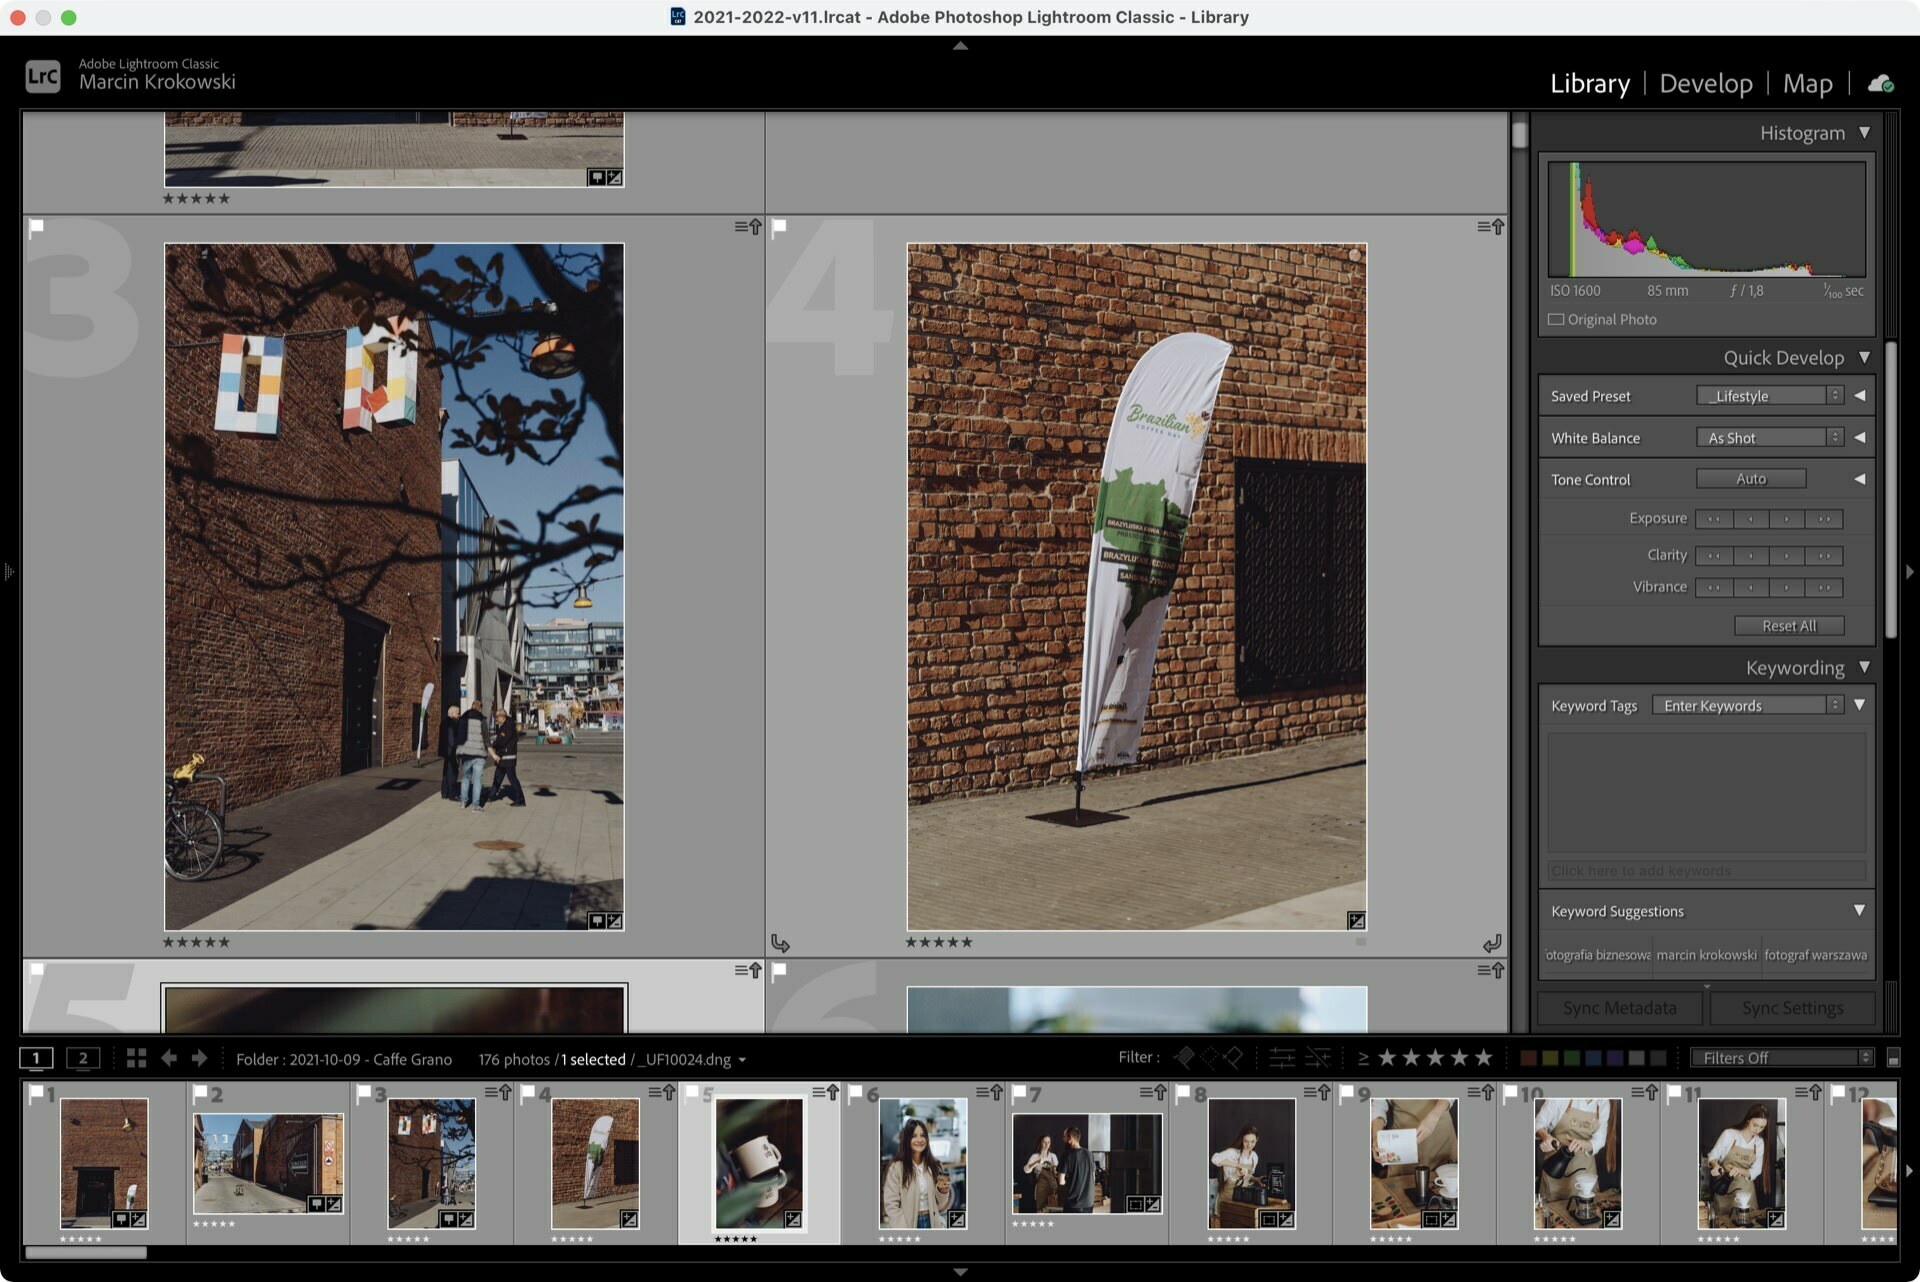
If we have already loaded RAWy on our disk and LR directory, then we can use the function that is hidden under the Library > Convert Photos to DNG tab …
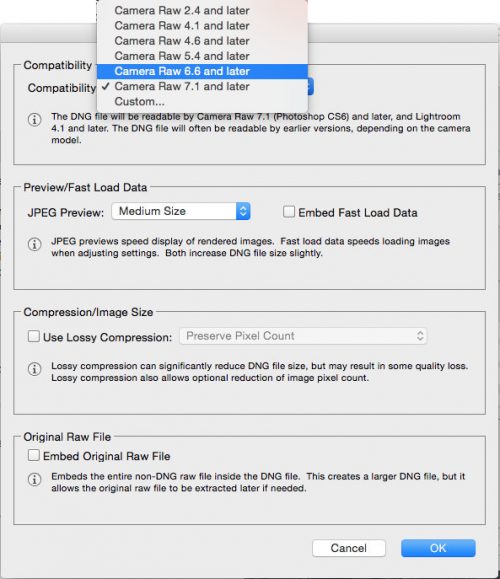
We should see such a window where we set how our compression to DNG should look like.

Now I write each of the options in turn.
Only Convert RAW files to skip JPEG, TIFF files, etc.
Delete originals after successful conversion is the removal of originals after a successful conversion. It is good to mark so as not to clog the disk.
File Extension – here we choose whether the extension will be written in small or large letters in the files. What who likes.
If you plan to work on an older version of Adobe software. We can set compatibility for older CAMERA RAW plugins.
JPEG Preview – We set the size of the thumbnail. Here you can optimally choose medium size, and preferably Full Size because instead of creating a thumbnail from several MB of file in browsers every time, we will get an optimal preview from JPEG embedded in a DNG file.
Embed Fast Load Data – if you select it, all editing data will be embedded in the DNG file. This slightly increases the size, but we have more order in the files and with the loss of the LR directory, the changes are in a single file. This also increases the loading speed of these settings.
Use Lossy Compressy – If we point this out, we still have most of the benefits of DNG, but we add lossy compression to reduce files. It is not recommended to do this, because we will irretrievably lose some of the information from RAW.
Embed Original RAW File – I never use it, because the file grows over 2x. This is because the DNG file will save the original RAW file. This gives you the opportunity to return to RAW format because conversion to DNG is irreversible.


