Some people think that the photographer’s job, apart from taking pictures, is only about ripping the material and processing in Lightroom-je, or Photoshop, and that’s enough. In part, this is the case at the beginning, but over time, additional tools are needed to improve the work. Will they allow us to manage a large collection of photos. In this post I will show you all the applications that I use before, during and after processing photos, and how I deal with their storage.
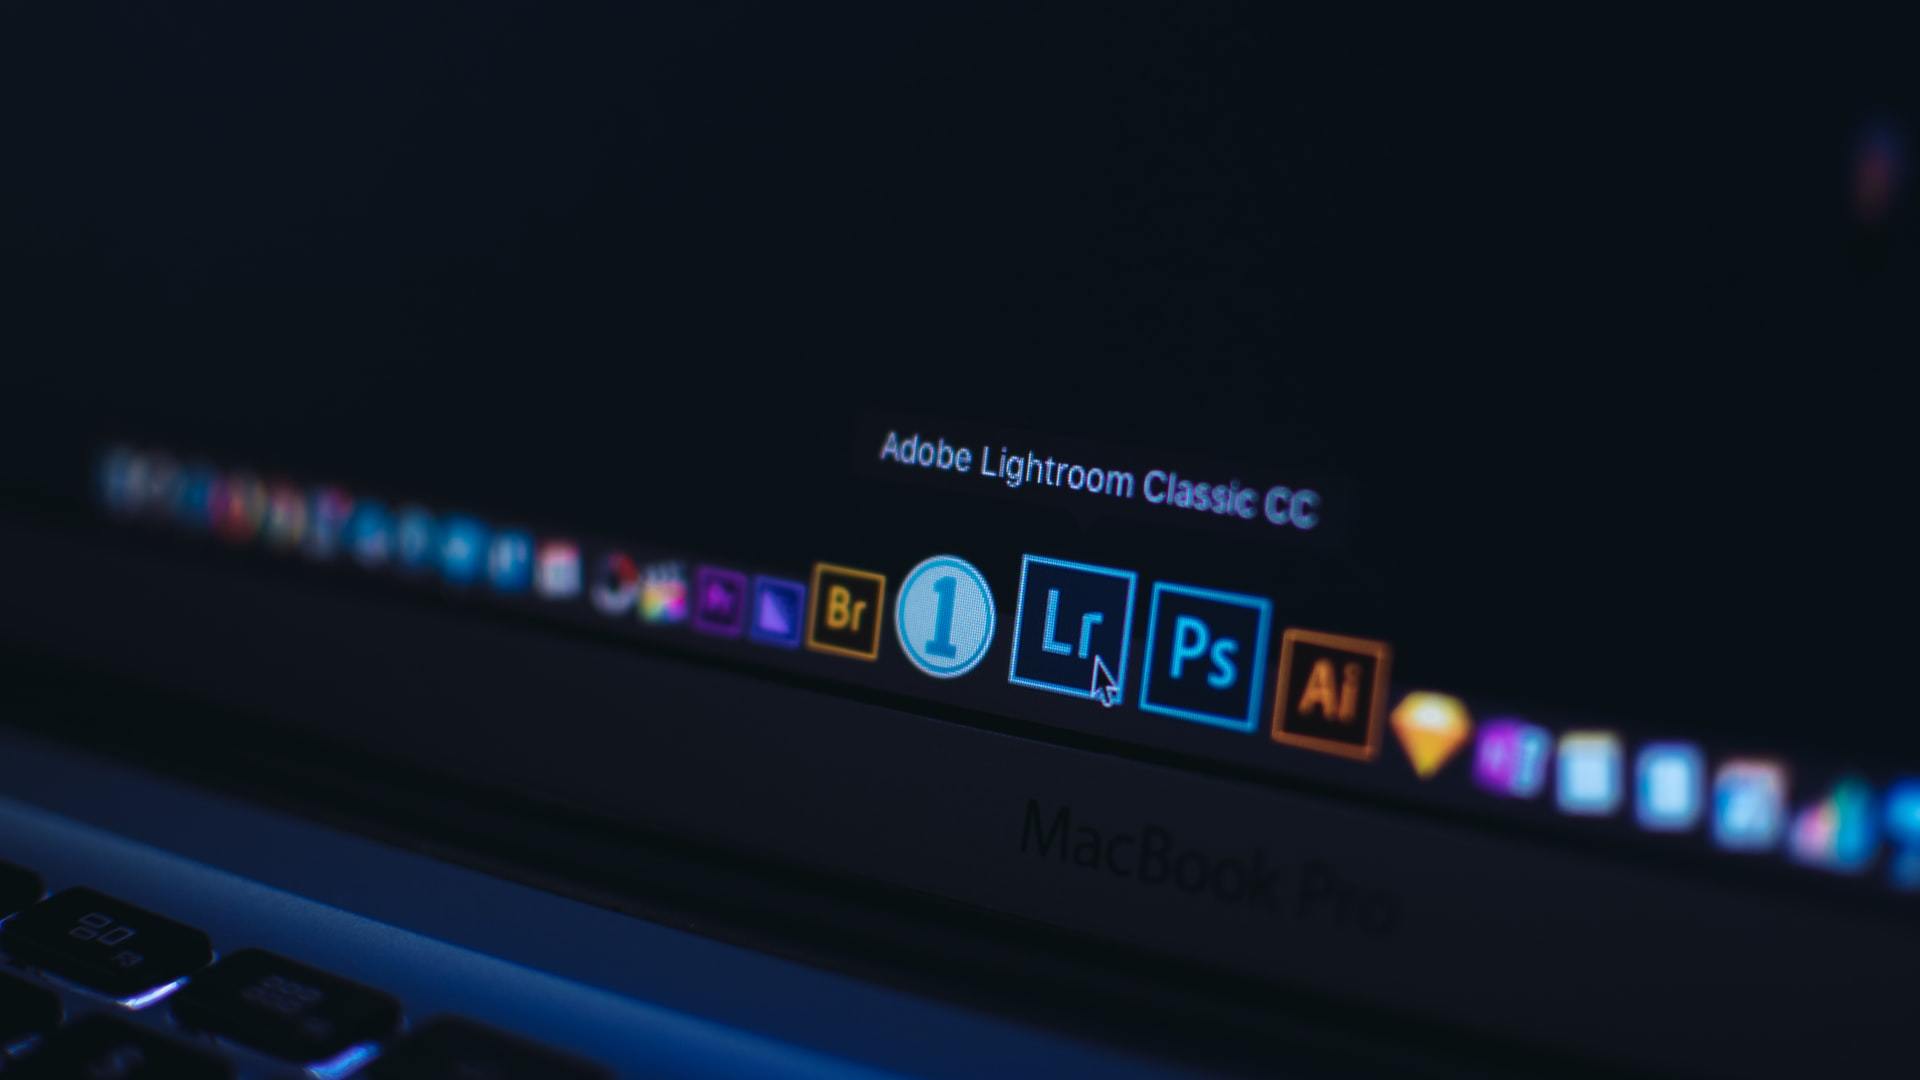
Adobe Creative Cloud Photography plan
As I have already mentioned, many people will immediately think of Photoshop, and even more so the initiated Lightroom. For me, Lightroom is the main program for working on the material. For a long time, I started my work on the material there, but recently RAWSIE appeared, which I will mention later.

For my work, I chose the Adobe Creative Cloud subscription version with a photography plan that includes three applications:
- Photoshop CC
- Lightroom CC
- Lightroom Classic
For this we get 20GB of cloud space and applications for the phone like Lightroom Mobile (unlocking all functions) Photoshop Express and Photoshop Camera.

On my computer, I only install Photoshop CC and Lightroom Classic. The CC version of Lightroom does not yet have the same functionality as Classic. Lightroom CC resembles Lightroom Mobile, which I use on my phone and tablet, to process photos from my phone, and sometimes select photos, thanks to the synchronization of photo collections in the cloud.
What am I using Adobe for?
In Lightroom Classic, I start working by adding photos to the catalog, converting them to DNG format, I make selections, process, export and move them between disks. Lightroom Classic is my starting point all the time. When he needs to do more advanced retouching or processing. I’m moving from LR to Photoshop, but the photos go back to the Lightroom Classic library, where they’re imported.

Catalog photos
Lightroom gives me an insight into all the sessions, where I can tag photos and catalogs at every stage of my work. I divide the photos according to whether it is a backstage, a photo for a client, or my selection for a portfolio. I mark the folders with colors for those for processing, in progress, finished and sent to the client, and at the end I make a selection of the best photos for myself and I consider such a project closed. I only delete rejects, and all other photos in the catalog I transfer to the NAS server, where I can reach for RAW if necessary.

Why a subscription?
For professional work I choose proven and reliable tools. The CC version gives me access to the latest updates, optimizations, new features, or compatibility with new cameras and lenses. I’ve met a lot of people who think it’s pointless and they’re probably right. If someone works one session per week, per month, or less often and does not do it professionally, then a boxed version may be enough for him, for which you can buy licenses for less than PLN 500. However, the problem arises when someone buys a new camera, for 4-8 thousand. and can not process photos from it, because it is not supported by the old version of the program. There are ways to deal with it and I even wrote about it in one of the blog posts, but is it worth it?

How much does it cost?
Adobe Lightroom Classic, this is my main photo editing program that I use the most and the cost of about 9.99 euros / month (if not, then there are often promotions, or you can negotiate a similar rate through support) is not so big and quickly pays off. There are also some ways that allow you to get this package cheaper, or extend it by a month or several for free. Maybe I’ll develop it one day, but I’m afraid that onions will start abusing it.

Subscription to the photo plan comes out to me about 550 zł gross / year, which is as much as the boxed license for Lightroom. And here we also get the latest Photoshop, which is no longer available in box versions, and from what he remembered it was a cost of even several thousand zlotys, so the purchase paid off in years, and eventually ended up that we had an outdated program after that time, without the support of RAW files from new cameras and functions. So about 50 zł / month for a ps + LR package and 20GB of cloud is not so terrible.
How to buy Adobe Creative Cloud for Photographers cheaply?
One of the ways is simple and reliable (so far), but it concerns people who care about the color scheme during their sessions, or want to profile their cameras or monitors and do not have a stencil or calibrator.
The thing is that every year, there will be a promotion for the purchase of X-Rite products (now under the Calibrate brand) to which there is a -50% discount on Adobe packages. We can buy a stencil, a gray card, a calibrator, etc. color management products and get a sizable discount on the annual Adobe Creative Cloud suite for photographers. And in the case of buying a calibrator, even a year of photo package for free!

It is convenient because we make a one-time payment with a discount of -50% for the whole year. If someone deducts the purchase of software in the company, it will also save time by posting only the stencil and the annual package. Instead of posting your Adobe subscription every month, you can only do so once a year. If you already have, for example, an old stencil, you have a chance to replace it in this way practically without costs, because what you lose on reselling a used one, you will save on the Adobe package.

Of course, I do not want to convince anyone to switch to a subscription, but sooner or later there comes a moment, because there are no more “lifetime” versions in the new edition. New hardware and software become less compatible with age and it’s hard to work all your life on Windows XP with Lightroom 6.0, especially when the entire budget is spent on a new body, from which it is impossible to process photos on a boxed version.
I will not dwell on lifelong alternatives, because I have been working on Adobe for years and we got to know each other well. In addition, applications such as Capture One, despite the fact that they are “lifetime”, just like any software, in order to develop, it needs funds. And at the moment of introducing new functions or camera compatibility, again we have to buy often not a cheap upgrade. It was similar with the box versions of Photoshop.

About pirated versions, cracks, or dubious licenses from Allegro, etc. sources it is a pity to speak. Sometimes it is money thrown down the drain (no license transfer), violation of license rights, lack of corrections, or the risk of catching some malware, etc. Adventures.
Website: Adobe.com
JPEGmini
JPEGmini is one of my discoveries of 2020, when I realized how many photos I already have and how much it costs. And we’re just talking about JPEGs. Over time, you have to buy new disks, but now it awaits me less often, I also do not have to combine which photos I have to delete to make room for new ones. That way, I can have photo collections from several years, without a closet full of hard drives.
A revolution in JPEG compression
JPEGmini can reduce JPEG files to 80% without apparent quality loss, and it really does. For a trial, you can download the demo version and rework a few photos. Then it is worth recalculating a little, whether it pays off, because as for the app for compressing photos, you have to spend about PLN 460 for a license with a package of plug-ins for LR, PS and Capture One (a little more than a 4TB HDD). However, here the license is lifetime and over time it will definitely pay off if we take a lot of reportage or wedding photos.

Recently, an option has been introduced on the basis of an annual update. If today we have version 3.0 and within a year 4.0 will come out, then we will finish on this version and the program will still work fully. If we want to have further versions, we can extend the possibility of updating for another year for a fee. A bit like with LR in the box version, but here it’s hard to come up with something more at the moment and calmly version 3.0 for me, enough for many years. Although recently added the possibility of video files, which is a nice addition, but I personally do not make videos and for me it is no revelation puki co, for this is limited only to H.264 (AVC) files.
Why did I choose JPEGmini?
I looked at my photo library, waited until Black Friday (I think there was a promotion for about -30%) and got to work. After flipping my galleries through JPEGmini, I got over 500GB of free space with it (the application counts the saved space), because once I even made a summary screen, but I think that 100-200GB went through JPEG mini at the beginning. Then came the system format and I started from the beginning. Unfortunately, the statistics do not include files passing through the plug-in for Lightroom Classic, and there is also a lot of it, so there is a chance to regain 1TB of space with a large archive. I think that wedding photographers or reporters will gain the most from this application.

Disk space is not everything, we also save:
- Buying smaller pendrives for photos for customers. Instead of 8-16GB, 4GB is often enough.
- We have smaller photos for the website, which not only saves us space on hosting, but makes the site load faster and has a better Core Web Vitals ranking.
- We need less space in the cloud. I back up my portfolio in JPEG files on OneDrive
- We can have smaller packages in online galleries (pic-time, pixieset, etc.)
- Smaller files load faster too
Looking at the fact that the JPEGmini license is lifetime and how much space on disks, servers, pendrives and galleries we will save, sooner or later it will pay off. One 8-16GB pendrive can often be replaced with 4GB and not lose quality, it is already 10-20 zł savings on one pendrive.
How much does JPEGmini cost?
JPEGmini comes in two versions:
- JPEGmini Pro App for $59
- JPEGmini Pro Suite for $89
The first variant contains the application itself, into which we can throw our JPEGi, and the Suite version adds licenses for plugins for Lightroom, CaptureOne and Photoshop, which integrate with the export tool.

I chose a package with plugins. I mainly meant Lightroom, because each time I already have the compression stage behind me. I set the quality in LR to 100%, and then the magic happens – even exporting photos from LR to the Pic-Time gallery.

How cheaper to buy JPEGmini cheaper?
As with most applications, it is best to follow their social media, and most often you just have to wait for BlackFriday. In 2021, they gave a 25% discount.

Website: JPEGmini.com
RAWSIE
RAWSIE is a relatively young application that previously appeared under the Dotphoton brand. At first, I didn’t believe that what he was doing was true! RAWSIE is an application similar to JPEGmini, but compresses RAW files without losing quality up to 5 times. Shock!
RAWSIE is only in version 0.9.99 but it is already impressive. It also works with a narrow number of cameras, because the way raw files are saved between different models may vary, but it supports my Nikon D750 or Sony A7III body. Unfortunately, the D700 didn’t catch on, but I don’t have too many RAWs from it anymore. It is definitely worth checking the compatibility list on the manufacturer’s website before buying, because at the moment it is limited to Sony, Canon, Nikon, Fujifilm brands.
How does RAWSIE work?
If you know what DNG and Adobe Digital Negative Converter are, RAWSIE is a better version of it. RAWSIE actually requires Adobe Digital Negative Converter to run, but only uses its background resources in some way to create a better version of DNG files using its algorithms, which are even smaller. I don’t know if I can explain such a complicated mechanism, but from what you can read on their website, RAWSIE from the RAW file separates the part visible to the eye from the “noise” (carrying). However, it is certainly not about the usual noise, which we call grain in photos, because at the first and second (during processing) glance you can not see the difference. There are many comparisons and videos on the web about it. You can also check it at home thanks to the trial version of the application.

In short, the application reduces files by up to 5 times:
- No change in image quality
- Artifact-free
- No change in file resolution
- The depth of the bits does not change either, which some wanted to look for
- Does not change colors
Not bad what?
How to use RAWSIE
At the moment we have two compression options:
- Lightroom catalog optimization (recommended)
- Drag-drop optimization of one or more files

By optimizing the directory, RAWSIE compresses and replaces files immediately in the directory, which prevents files from being lost (RAW files will change the extension to DNG), and loss of metadata, because as far as I know, some of them are cut. If we link to a directory, the metadata in it will be saved and we can add it to DNG files.
The second compression option, by dragging files into programs, consists in compressing files without preserving metadata, so I use it rather immediately after ripping the material from memory cards. Which it then imports into LR.


Here it should be noted that the program will create us two folders: with originals and compressed DNG files. So until we delete the originals, we’ll take up a little more space. We can also indicate as the place of saving the directory in which the originals are, and make their backup to a completely different place, but you have to set it separately, with each folder. I hope that in subsequent versions they will allow you to set the default overwrite of originals and create some fixed path to your own backup folder, which can be safely emptied like a cache.
What can you attach to in RAWS?
Although I noticed one problem. Although LR sees the files, it marks them as changed in another application and an up arrow appears next to the files in the upper corner of the thumbnails with 3 bars “metadata was changed externally”. In such a situation, you can save metadata to files by selecting them all and pressing CMD + S, but sometimes there is also information with three bars and an exclamation mark and the message “metadata has conflict” and each file must be confirmed separately to inject metadata from the directory into the file. Because the CMD+S option does not work for all selected files. I don’t know if it’s an LR or RAWSIE error, but it doesn’t bother me because all the editing changes are in place. So it just informs you so that no one gets scared.
Finally, you just have to remember to delete the “_UNCOMPRESSED” folder in the directories, which creates a backup copy of our files. If everything is ok, then you can simply find all the directories with this name in the Finder or other file manager and delete it in one fell swoop.
RAWSIE with Sony A7III
Recently I switched from Nikon D750 to Sony A7III with a 24Mpix sensor that spits out almost 50MB of RAW without compression and 24MB of compressed RAWy, which are ok if we do not take pictures in the series and a few other situations, but about this in another post. After throwing RAW into Lightroom and turning them into DNG files, it is already good, because we go down to about 30MB. The same file passed through RAWSIE takes up only 11MB.
Sample photo from Sony A7III:
- 50MB RAW without compression
- 24MB compressed RAW
- 30MB DNG with Lightroom
- 11MB DNG with RAWSIE
Not bad, huh?
How much does RAWSIE cost?
First of all, RAWSIE at the moment works only on Mac OS, but you can sign up for the list of pending versions for Windows (they will probably do some promotion for Earlybirds). Secondly, the license is lifetime and, unlike JPEGmini, it will pay for itself even faster if we already have a lot of photos on disks. There are three variants to choose from:
- Free (30 photos per day)
- Annual for 79$ + VAT
- Lifetime for $199 + VAT

In my opinion, despite the high price, it is better to invest in a lifetime license. I bought mine on Black Friday 30% cheaper (it came out 179 $ + VAT), but maybe there will also be other promotions to get it cheaper.
There is also a command system, which in the free version for one command gives us 1 free day of using the application. I will immediately say that having a few TB of RAW, you will not compress in one day. 😉 It took me at least a few days. This is quite a tedious process.
Website: RAWSIE.CO
Owly
Owly is a small application whose task is to stop our Mac from falling asleep. When exporting, moving, copying or sending large amounts of photos to the gallery or cloud, I had a problem. The computer would fall asleep and bugs would appear, or I would leave the house and not have all the photos to the cloud.

Thanks to the owl, I can quickly set e.g. 2-3 hours of sleep lock and leave the computer so that the computer can finish its work. Without guarding it and moving the cursor or clicking on the keyboard so that it does not fall asleep.

The app can be downloaded for free from the AppStore.
Office applications for the photographer?
I added here Owly what a photo application, because many times it saved me while working on large photo galleries, but more about office applications, clouds and company management I will write in the next post.
Really helpful list of photo apps! The inclusion of tools for file management is a nice touch. Maybe consider adding a small part on web-ready exports — it would help beginners a lot.